Ciccions oil change: tips and tricks
How to make oil change at a KTM 950 adventure
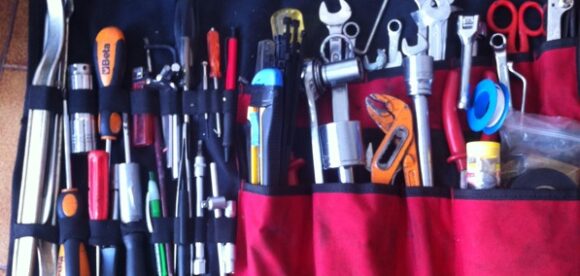
The oil change and filter change of our KTM ADVENTURE 950 it’s not complicated but it needs some dexterity in the use of tools.
We’ll show you everything step by step but if you decide to try it on your own, you are responsible of your motorbike.
Firstly the engine must be cold
(or we could damage aluminium thread when we’ll clamp screws).
Let’s put the motorbike on centerstand.
Let’s close carefully the fuel taps, get off the jack of the reserve control light on the left tank and the tubes of depression of both tanks.
Then let’s dismount the seat, fairings and side panels.
Let’s dismount bumpers.
Then put off the astindal-cap of the oil tank (on the right up on the oil tank).
Let’s unscrew the magnetic 12 screw on the left (looking at the motorbike sitting on it) of the oil tank.
Be careful because it’s easy to loose the brass washer.
Let’s take the oil using a funnel.
Let’s carefully clean the magnetic screw from the attached remains.
Let’s reassemble the screw with a new ring (if the old one isn’t deformed we can use it again) and if there’s a torque rench let’s clamp at 25 NM.
If not, clamp until the hit and then give another quarter of a turn.
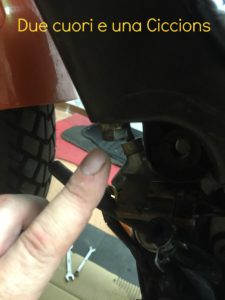
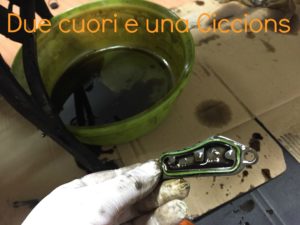
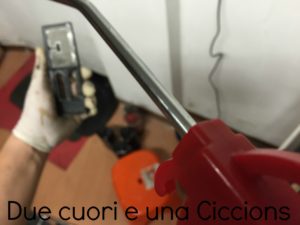
Let’s unscrew the two 10 screw of the near sleeve (it’s a non-return valve), let’s put a finger inside and put out the inner little filter.
Let’s wash the filter under flowing water, dry it very good (better if with compressed air) and put it inside again.
Let’s put again the two srew screwing at 10 NM.
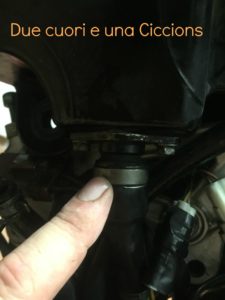
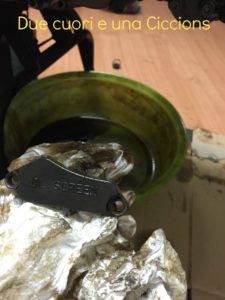
Let’s unscrew the 19 nut that is under the engine and let’s take all the oil.
(REMEBER to dispose it accurately: 1 liter of oil contaminate 1.000.000 liters o f water).
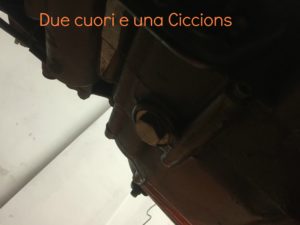
This screw is magnetic too and we have to clean it and put it on again with a new ring, screwing it at 35 NM.
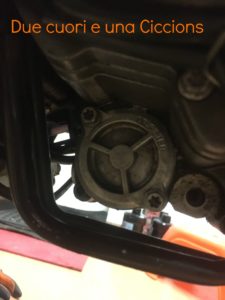
Let’s unscrew the two 8 screwa of the filtring unit top
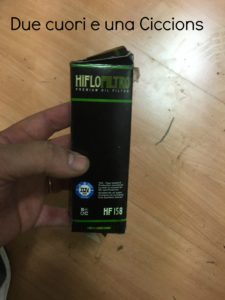
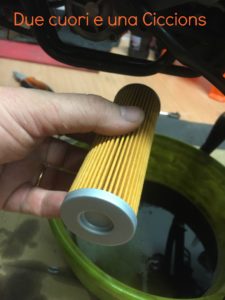
(on the left side under the engine – it’s rounded). Then, with the help of a clamp to take off seger, let’s take out the oil cartridge.
Let’s put in a new oil cartridge ALREADY FILLED UP with new oil, in order to avoid air bubbles circulating when we’ll start the engine
(there aren’t dameges in this case, but it’s better to avoid it).
Let’s reassemble the top with a new O-Ring
(I change the O-Ring after 2-3 oil change) and let’s screw the two 8 screws from 8 to 6 NM.
Mske it carefully: the crewing is very light, it’s easy to demage the threads if the screwing is too hard.
Let’s move to the right side of the engine and unscrew the two 8 screw in the filtring unit (it’s written on the top).
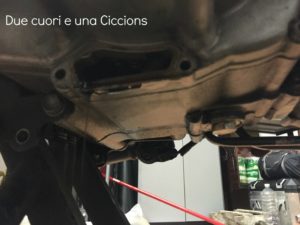
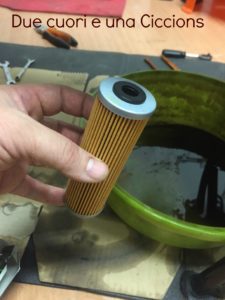
Let’s use a thin clamp to take the filter cartridge and clean it under flowing water.
Finally we put it inside againg with the TOP sign on the top.
Let’s check the seal, close the cover and clamp it at NM.
With the help of a funnel let’s put 2,7 liters of oil in the tank, than we can close the cap with dipstick and turn on the motorbike.
Initially we’ll hear metallic noise caused by the distribution chains.
The chain tensioners are idraulic and they need a little time until the oil pump gives them the right pressure.
Let’s take the engine at minimum until the moment in wich the oil warning light switch off.
When the light is off we can switch off the motorbike, wait a few minutes and fill the oil thank until the moment in wich, with the cap unscrewed and leaned, the oil level is between minimum and maximum.
Let’s reassemble everything.
I suggest you to check the oil level again after one hundred km more or less.
Obviously we aren’t experts and we make it ONLY on our motorbike. 🙂
It’s ever better going to autorized workshops
if you don’t know what you’re doing (know your limits).
Condividi:
- Fai clic per condividere su Facebook (Si apre in una nuova finestra)
- Fai clic qui per condividere su Twitter (Si apre in una nuova finestra)
- Fai clic qui per condividere su Pinterest (Si apre in una nuova finestra)
- Fai clic qui per inviare l'articolo via mail ad un amico (Si apre in una nuova finestra)
- Fai clic qui per stampare (Si apre in una nuova finestra)


